How to Make a Cat Hammock: Zero-Waste DIY in 5 Minutes

Is your closet overflowing with old t-shirts you never wear anymore? Is your four-legged companion desperately searching for a new high-up spot to survey their kingdom? Look no further!
Today, we're combining creative upcycling with a love for cats in this 100% recycled cat hammock tutorial.
Forget complicated, overpriced structures.
This project is the perfect example of "Zero Waste": it won't cost you a thing, it gives your old clothes a second life, and it's a fantastic activity to do on a Wednesday afternoon with the kids.
The Materials to Make a Cat Hammock
The beauty of this DIY is that you already have everything at home. To make this cat hammock, you'll need:
-
1 old cotton t-shirt: Choose one that's a bit thick for comfort. A size M or L is ideal. Pick a color your cat will love (or one that matches your decor!).
-
1 sturdy metal hanger: Make sure it's a fairly rigid wire hanger, not the kind that bends too easily.
-
A pair of scissors.
-
Your hands (and your little helpers' hands too!).
⚠️ Important note on sizing: This cat hammock tutorial works for small to medium-sized cats (like a European Shorthair). If you have a large cat, as suggested by the site's various purchases for Maine Coon cat tree or giant Maine Coon, this DIY won't be sturdy enough. For them, go with our reinforced XXL cat trees.

The Step-by-Step Tutorial: Child's Play
Ready? Grab your hangers! Here's how to make a cat hammock with no sewing required.
Step 1: Prepare the frame
Take your metal hanger. The goal is to reshape the bottom triangle into more of a square or rectangle, giving your cat a wider surface to lie on.
Gently pull the bottom bar outward, and flatten the "shoulders" of the hanger. You should end up with a shape that looks like a diamond or a kite. Kid-friendly tip: This is the "Hulk" step! Let them pull on the hanger (with supervision) to bend it into shape.
Step 2: Dress the hammock
This is the easiest part of this cat hammock tutorial. Slide your bent hanger inside the t-shirt, just like you're putting it away in a drawer.
The hanger's hook should stick out through the t-shirt's collar. Adjust the fabric so the hanger sits flat inside and the fabric is pulled slightly taut over the metal frame.
Step 3: Secure the bottom (the no-sew method!)
The bottom of the t-shirt is open, and your cat could fall right through. To close it up without a sewing machine, we'll use the knot-tying technique.
-
Using the scissors, cut vertical fringe strips along the very bottom of the t-shirt, through both layers of fabric. Each strip should be about 2 to 3 inches long and roughly 3/4 inch wide.
-
Next, tie some knots! Take one strip from the top layer and its matching strip from the bottom layer, and knot them together tightly (a double knot works best).
-
Repeat all the way across. This is the kids' favorite part: they get to close up the "sleeping bag" themselves.


Where to Set Up Your New Cat Hammock
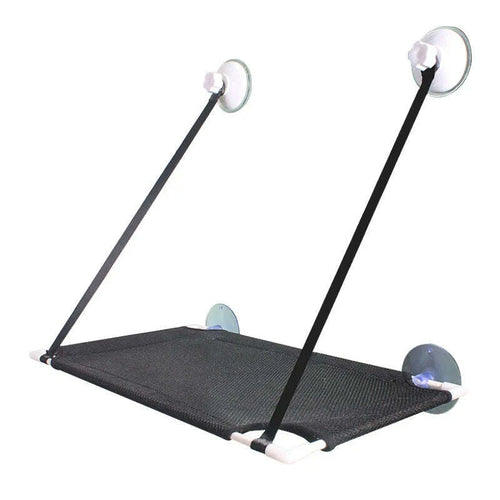
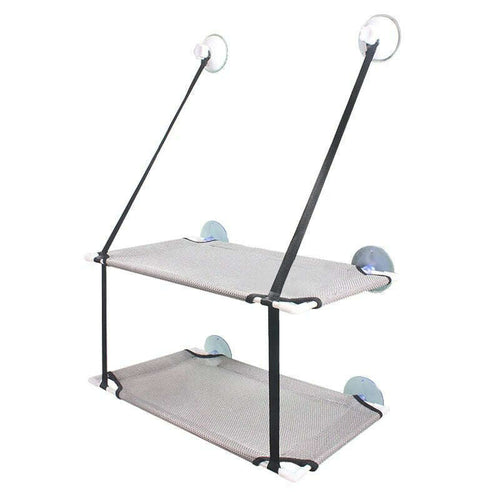
Your creation is ready! Now all that's left is finding the perfect spot. Thanks to the hanger's hook, this design is incredibly versatile. Data shows you love the idea of a cat window perch, and that's absolutely doable:
-
On a window handle: This is the prime spot (if the handle is sturdy) for bird-watching.
-
Under a chair or coffee table: For a cozy, hidden nook.
-
On a curtain rod or wall hook: Just make sure it's securely fastened.
And in winter? The radiator becomes the most coveted spot: its gentle warmth makes for an unbeatable bed. Our guide cat window perch or radiator cat bed compares both spots in detail. And for a ready-to-hang model, check out our radiator cat beds.
Safety First
Before letting your kitty climb up, always test how sturdy your setup is by pressing down on it with your hand.
Make sure the anchor point can hold your cat's weight plus the impact of a potential jump.

Conclusion
And there you have it! You've successfully followed our cat hammock tutorial. In less time than it takes to say it, you've created a hanging bed that's machine washable (just remove the hanger) and completely free.
Your cat will love the familiar scent of your old t-shirt and the gentle sway of their new throne. Feel free to share your creations in the comments!
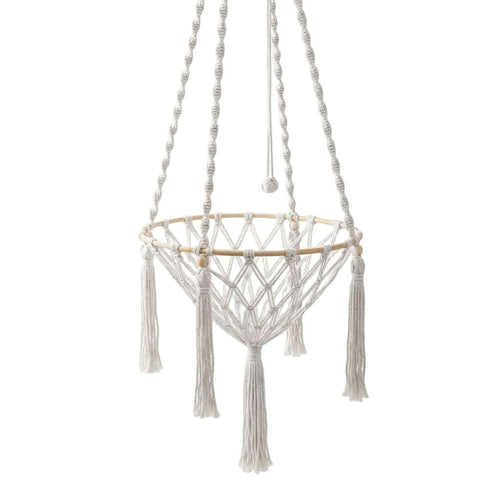
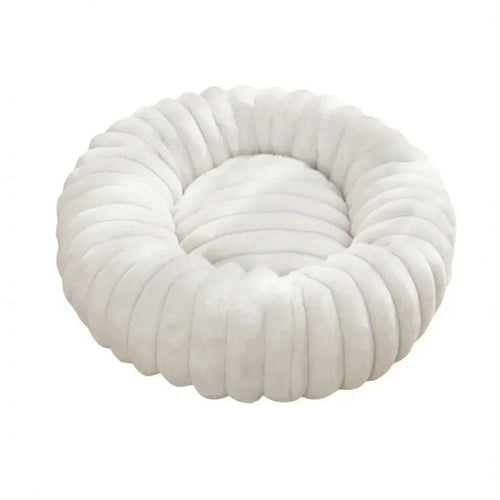
🐾 No time for DIY? Our ready-to-hang hammocks, cat-approved.
Not in the mood to DIY? We've got you covered.
This tutorial is perfect for a creative afternoon, but if you'd rather give your cat a sturdy, washable hammock that's ready in 30 seconds, our collection has you covered. And for the larger cats mentioned above, we also carry XXL structures built to last.
Frequently Asked Questions
-
An old t-shirt and a sturdy hanger are all you need: it's a 100% upcycled DIY project with no sewing or special tools required.
-
When properly assembled on a sturdy hanger, it can hold an adult cat weighing 9 to 13 pounds. Always check its strength before letting your cat use it.
-
Place it in a quiet, elevated spot, add a blanket with their scent and a few treats: most cats take to it within a few days.
-
It's best suited for cats who love to perch up high. For an older or less agile cat, opt for a low, easy-to-access setup instead.


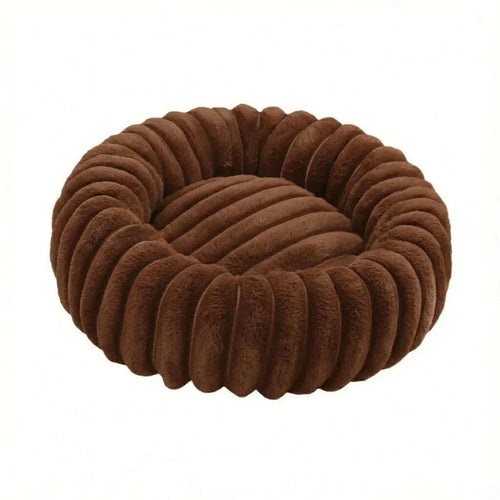
Not the DIY type? Our ready-to-install hammocks have you covered!
This tutorial gave you the idea, but your hangers gave up? Check out our hammocks built to last: two-minute installation, guaranteed comfort, and a style that fits right into your home.
Our Products